

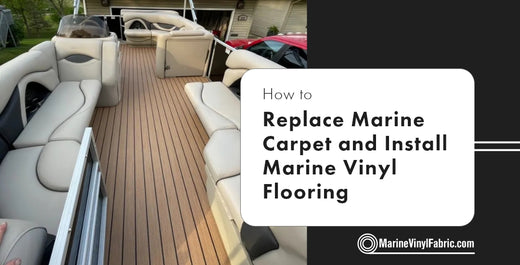
How to Replace Marine Carpet and Install Marine Vinyl Flooring

You have decided to make the switch to marine vinyl flooring for your boat - nice choice! Marine vinyl is a great option and finally, you’ll love it.
If you’re replacing all of the carpet on your boat, this can be a big process. It can get expensive to hire professionals to replace your flooring, so doing it yourself is a great way to go. In this post, we’ll go over what tools you’ll need, as well as the steps you need to follow to replace your carpet with vinyl flooring.
Let’s go ahead and dive into the tools you’ll need for this project.
Tools Needed to Replace Marine Carpet
If you’re only replacing a few sections of your carpet flooring, then you shouldn’t need too many tools for the project. If you’re replacing everything, you’ll need some additional tools to ensure you can remove everything in the way.
Here’s what you’ll need to complete the job:
Drill
The drill will be necessary if you need to remove the seats and console from the boat. You’ll need to do this if they are in the way of removing and replacing the carpet.
Glue/Adhesive
You’ll need some glue to keep the vinyl flooring in place. You can either get a spray-on glue, or you can get glue that you brush on before laying the vinyl down.
We recommend the following boat adhesive AAT 390 Marine and Exterior Adhesive, but you should check with the flooring manufacturer as some flooring may need a different type of glue.

Razor Knife
The razor knife will be necessary to cut the carpet and vinyl.
Scraper
The scraper will help remove any excess glue and carpet that is left after removing the carpet.
Sander
Using a sander will be helpful to sand the surface area after removing the carpet. This will ensure that you have a nice, flat surface to lay the vinyl on.
Straight Edge
A straight-edge tool will be helpful when marking up the vinyl to cut.
Staple Gun
We’ll need a staple gun to help keep the vinyl in place. After laying the vinyl, we’ll use it to staple the edges into the wooden deck.
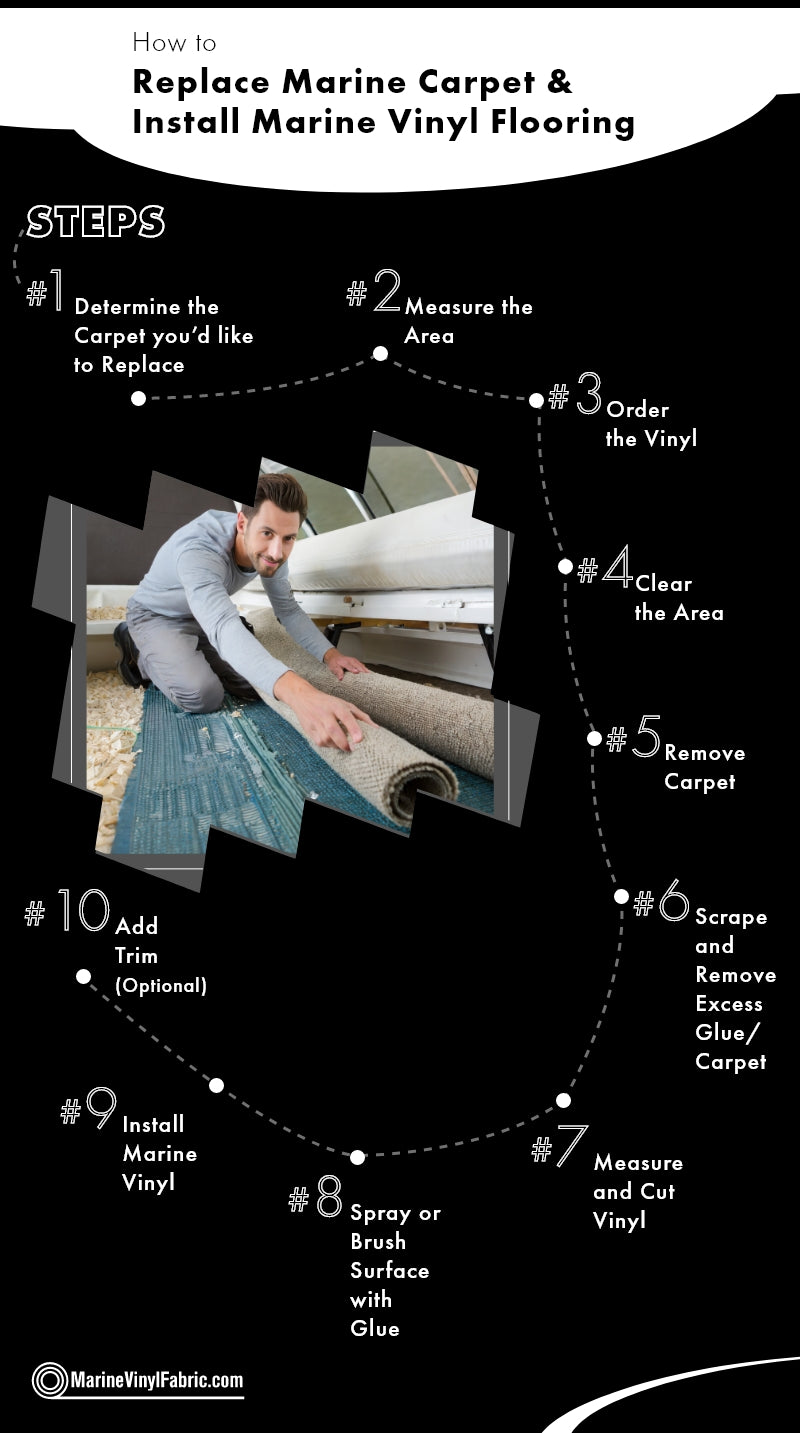
Step by Step Guide to Replace Marine Carpet
Now that you know what’s needed for the job, let’s go ahead and move on to the first step.
Step #1 - Determine the Carpet you’d like to Replace
You’ll need to determine exactly what you want to replace. If you’ve been thinking about replacing your carpet with vinyl, then you may already know this.
Many people like to keep carpet on the side of the boat, and just replace the floor with vinyl. It’s not too much more work to replace the sides in addition though.
It will just be important to clear what areas to be replaced before you start the project so that you know how much vinyl you’ll need to purchase, and where the carpet all needs to be removed.
Step #2 - Measure the Area
Once you’ve determined the area you want to replace, you’ll want to get some good measurements. This will help you figure out how much vinyl flooring you’ll need to cover the area.
We would recommend ordering a little more than you think you would need for the project. This will give you a little breathing room in case you make any mistakes with your measurements, or cut the vinyl too short in some areas.
Step #3 - Order the Vinyl
I’m going to break this step down into two main parts. The first is deciding which vinyl flooring you want to go with, and the second is ordering the vinyl.
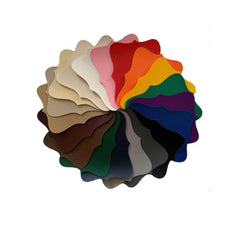
At MarineVinylFacrics we offer two different types of vinyl flooring on our site. We have Marideck Marine Flooring as well as Woven Flexa. The Woven Flexa is the most popular one.
Once you decide which type of flooring will best fit the needs of your boat, then you can go ahead and place your order. You’ll need to select how many feet you need, as well as the style.
There are plenty of styles to choose from. This will include different styles of color and different thicknesses for your vinyl flooring. Once you’ve decided what color and thickness you would like, just enter the number of feet you need, and place the order.
Now that you’ve ordered your flooring, the next step is getting your boat ready to replace the carpet with vinyl.
Step #4 - Clear the Area
Before you can remove your carpet, you need to clear the area on the boat. This means removing anything on the floor of the boat, but could also include removing your boat seat, console, and anything that is over the top of the carpet.
This part can be a little bit of a pain, especially if you have a lot of different pieces screwed in and covering the carpet. Don’t take any shortcuts with this step though. The more you can get out of the way and properly install the vinyl, the happier you’ll be with the final result.
This step is where the drill may come in handy. You’ll likely need to unscrew several pieces such as the plate that helps hold the seat down, and pieces on the console that need to be removed.
Once you have everything removed that’s in the way, you can move on to the next step, which is removing the carpet that’s currently in there.
Step #5 - Remove Carpet
Now that we have all the setup out of the way, we can get into the fun stuff where we get that flooring replaced. This is a big area where your razor knife will come in handy.
You’ll want to use the razor knife to get the carpet off the edges and pulled up from the deck. A good way to do this is to simply go around the outside edge of the deck with your razor knife. This will help cut the carpet and get it off the deck.
You’ll likely have some areas on the deck that are interestingly shaped. Cut the carpet off in chunks and keep it intact.
If you can cut out the carpet in chunks and leave it in the shape it was on the deck, you’ll be able to use that as a template when you measure and cut your vinyl. This will be a huge help for you later on.
Continue removing the carpet with your razor knife until you have all the carpet removed. At this point, you’ll likely have a lot of excess glue and carpet pieces, which is no problem. We are going to address that in our next step.
Step #6 - Scrape and Remove Excess Glue/Carpet
You’ll want to clear the deck as much as possible before you get started with the vinyl. That includes removing any excess glue and carpet that was left when you removed the carpet.
The two tools that are going to help you in this step are your scraper and sander.
It’s going to take a lot of time, but go through and scrape the areas where you removed the carpet. You’re going to scrape up a ton of glue and carpet pieces that were left behind.
Once you have the glue and carpet scraped, you’ll likely have some areas that could use sanding. Use your sander to flatten out the deck and areas where you’ll be placing the vinyl. It’s important that there is a nice, flat surface for the vinyl.
Once you’ve removed the excess glue and carpet, use a vacuum to clean up the deck area.
Step #7 - Measure and Cut Vinyl
Now it’s time to measure and cut your vinyl. As I mentioned in a previous step, using the carpet that was previously used on the boat as a sizing template is something that would help out and save a lot of time.
You should have some chunks of carpet that you can use as a template to measure how big you should cut your vinyl. I would recommend leaving an inch or two on each side to give yourself a little extra vinyl to work with. You can always trim the vinyl, but you can’t put more vinyl back on.
Use your straightedge to draw straight lines around the carpet template where you’ll be cutting the vinyl. Once you have the lines drawn out, you can get ready to cut the vinyl. Remember, draw the lines a little wider than the template you’re using.
Use your razor knife to cut the vinyl flooring. Take your time and make sure you’re making nice and straight cuts with the vinyl. You want to make this as accurate as possible so that it fits nicely and looks good.
Once you have your vinyl flooring cut to size, you can get things ready to lay it down on the boat deck.
Step #8 - Spray or Brush Surface with Glue
Before you lay down the vinyl, you’ll want to use glue on the surface of the deck. This is important to make sure the vinyl stays in place.
You can go a few different directions here. Either use a 3M high strength spray glue, or you can brush glue onto the surface. If you can get spray glue, it will be easier to apply it to the deck.
A good way to apply the glue is while you’re laying down the vinyl. You can start on one end of the deck and go down to the other, applying the glue as it’s needed. This will make it easy to work with so that the entire deck isn’t covered in glue while you’re trying to get situated.
Step #9 - Install Marine Vinyl
You made it to the exciting part. We’re finally ready to install your fresh new marine vinyl!
Hopefully, by now you have your vinyl cut into sections based on the way the carpet was cut. You can get started by grabbing one of your sections of vinyl.
Start on one end of the deck and work your way to where that piece of vinyl will end. Lay the vinyl flooring as flat as you can on the deck surface. As you work your way to the other end, be sure you’re pressing on the vinyl and working out the bubbles or wrinkles as you go. This is much easier to do as you’re laying down the vinyl, rather than trying to correct it afterward.
Once you make it to the end, you can wrap the vinyl around the side of the deck and staple it to the wooden deck there. If you don’t have access to wrap it around the deck, then you can staple the vinyl into the deck around the edges.
If you’ve measured and cut the vinyl correctly, you should have some excess vinyl at each end. Once you have the vinyl glued down and stapled at the ends, you can trim the excess vinyl.
Step #10 - Add Trim (Optional)
If you added vinyl to the sides and floor of the boat, an additional option would be to add some trim to cover up the seams and make things look nice.
You can use aluminum trim to cover up the seams, and that usually works great. If you don’t like the look of the bare aluminum, you could cover the trim with vinyl so that it matches the rest of the boat.
Things to consider
There’s a lot to consider when replacing marine carpet with vinyl, so I just wanted to add a few things to keep and mind when tackling this project:
- Vinyl isn’t typically as thick as carpet
- You can always remove more vinyl, but you can’t put it back on
Quick Recap
Congrats, you now know how to successfully replace the carpet on your boat with some fresh vinyl flooring. Here’s a quick recap of the steps you need to take to complete the project:
- Determine the carpet you’d like to replace. Some people like to replace all the carpet, but many people just replace the carpet on the floor.
- Measure the area. Make sure you give yourself some breathing room in case you make some mistakes.
- Order the vinyl. Select the size and style you’d like for your boat.
- Clear the area. Make sure to remove anything in the way of the carpet such as the console and seat.
- Remove the carpet. Use a razor knife to remove the carpet.
- Scrape and remove excess glue/carpet. It’s important to make sure the surface is flat.
- Measure and cut vinyl. Use the carpet as a template to measure the vinyl.
- Spray or brush the surface with Glue. This will help hold down the vinyl.
- Install marine vinyl. Lay the vinyl and trim any excess vinyl off the edges.
- Add trim if you have any seams you’d like to cover up.
With these steps as your roadmap, completing the work should be a breeze! Remember, if any questions arise or you require further guidance, our friendly team at MarineVinylFabric.Com is always happy to help. Just reach out through the contact form or give us a call at (800) 471-2092.


Leave a comment
This site is protected by hCaptcha and the hCaptcha Privacy Policy and Terms of Service apply.