

Article: How to Reupholster RV Furniture Yourself
How to Reupholster RV Furniture Yourself
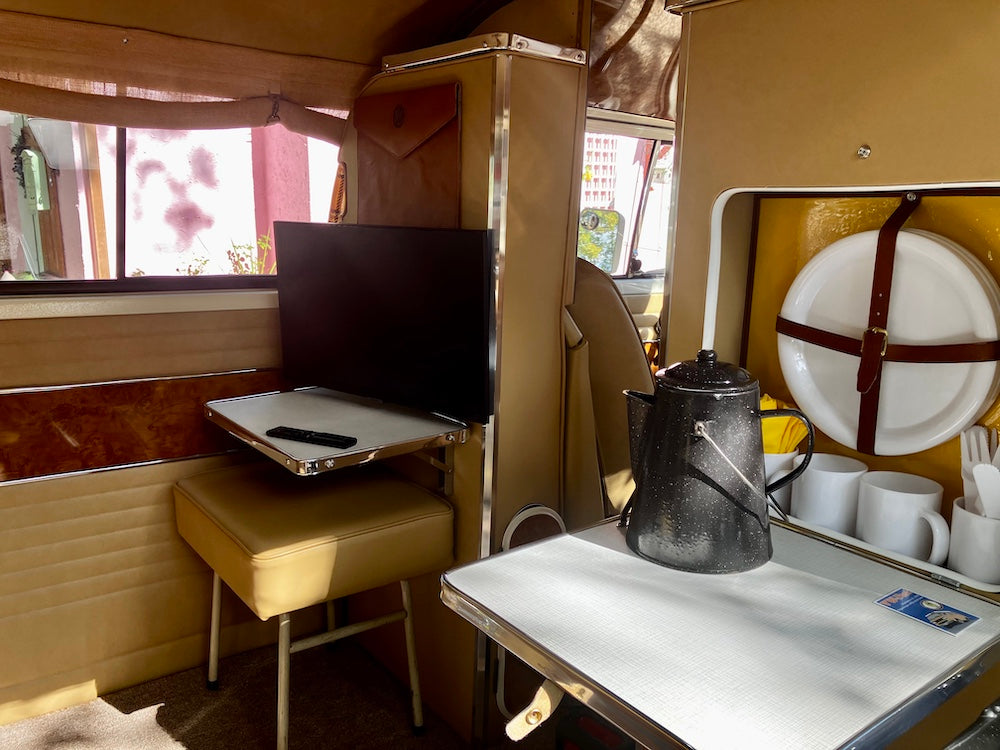
Reupholstering RV furniture is one of the most cost-effective ways to give your interior a fresh, modern look. Whether it’s a dinette, sofa, or captain’s chair, a DIY reupholstery project can save you hundreds while letting you choose the perfect fabric for durability and style.
Step 1: Choose the Right Fabric
The right fabric is the key to long-lasting results:
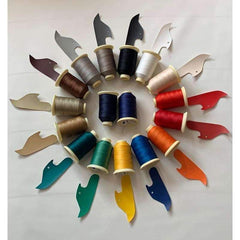
Marine Vinyl: Waterproof, UV-resistant, and easy to clean. (Check out our Fabric Options)
Solution-Dyed Acrylic: Comfortable, breathable, and fade-resistant.
Heavy-Duty Polyester: A budget-friendly option for lightly used cushions.
Step 2: Gather Tools and Supplies
You’ll need:
A staple gun and heavy-duty staples
Scissors or a rotary cutter
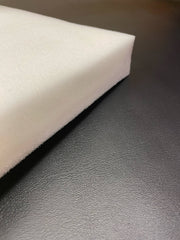
Upholstery foam (if replacing cushions)
Seam ripper (for removing old fabric)

Step 3: Remove Old Upholstery
Carefully remove existing fabric, saving it as a template for cutting your new material. Take note of how the seams and corners were secured.
Step 4: Cut and Staple
Cut your new fabric with a few extra inches for stretching. Begin stapling from the center of each side, pulling the material taut as you work toward the corners.
Step 5: Finishing Touches
Trim excess fabric and inspect the seams for tightness. If desired, add decorative piping (Marine Vinyl Welt Piping Cord | Boat Vinyl Trim) or double-stitching for a professional look.
Pro Tips
Use a hot knife when cutting woven vinyl or canvas to prevent fraying.
Test your staple gun on scrap wood to ensure staples hold properly.
Keep cleaning supplies handy—marine vinyl wipes clean with just soap and water.
Bottom Line
With quality materials like marine vinyl and the right tools, reupholstering RV furniture is a beginner-friendly project that can completely transform your interior.


Leave a comment
This site is protected by hCaptcha and the hCaptcha Privacy Policy and Terms of Service apply.