

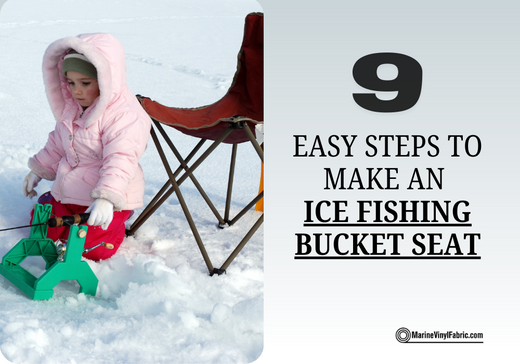
9 Easy Steps To Make An Ice Fishing Bucket Seat

Winter is officially here so that means it's ice fishing time! Don't worry spring will be here before you know it and we can go fishing from our boats soon enough. While there is still ice outside try to make yourself an easy ice fishing bucket seat.
This project requires minimal effort and can be completed in under 2 hours, utilizing materials easily sourced from your garage. Not everyone will have these supplies laying around so we have priced everything out for you and you can build this for under $60.
This bucket seat is perfect for ice fishing. You can use it as a tackle box and carry your gear easily out onto the ice.
Materials
- 5 Gallon Bucket - $2.97 at Menards
- ½ Inch Ply Wood - $3.99 at Menards
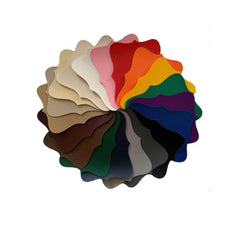
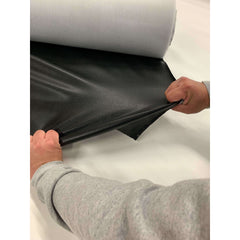
- 1 Yard Marine Vinyl Fabric - $6.95 at Marine Vinyl Fabric .com
- Foam Mattress Topper or carpet pad - $14.99 at Target
- 2” Plastic PVC Pipe - $4.98 at Lowes
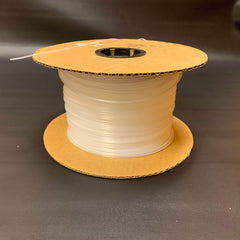
- 5 inch zip ties
Tools
- Jig Saw
- Scissors
- Staple Gun
- Glue
- Marker
Step-by-Step Guide:
Step 1: Flip the bucket over on top of the plywood and trace the circle on to the wood using the marker.
Step 2: Use the JigSaw to cut out the circle. Cut along the outside of the line to make sure the wood can fit nicely on top of the bucket without falling inside.
Step 3: Use the board as a template and now trace the circle onto the foam and cut it out using scissors or a utility knife.
Step 4: Glue the foam to the plywood and let it dry
Step 5: Lay out the marine vinyl fabric upside down and place the plywood circle on to the material. Take the backside of the marker and place it against the wood. Now tip the marker up slightly to begin drawing a larger circle around the wood. Note this circle doesn’t need to be perfect, but you want this circle to be about 5 or 6 inches bigger than the plywood circle to give you room to wrap both the plywood and foam.
Step 6: Staple the fabric onto the plywood board. Make sure you pull the fabric tight as you staple to remove any creases. If you need to get rid of minor creases you can use a hairdryer to smooth out the fabric
Step 7: To keep the lid in place take a hinge and screw it onto the bucket.
Step 8: Cut 2” thick PVC pipe into 3” sections. The top of each section should be a 45-degree angle and the bottom should be a straight cut. These will hold your fishing polls.
Step 9: Place the PVC sections on the bucket and drill 2 holes in the bucket on the side of the PVC pipe and use 5” zip ties to secure it to the bucket.
Bonus Tip
To keep the bucket seat balanced, attach the PVC pipe evenly around the bucket to help distribute the weight .
This DIY ice fishing bucket seat is a practical and budget-friendly solution for your next ice fishing adventure. It provides comfort, storage, and even a touch of warmth, making your time on the ice more enjoyable.
For a wide selection of high-quality marine vinyl fabric to create your perfect ice fishing bucket seat cover, visit MarineVinylFabric.


Leave a comment
This site is protected by hCaptcha and the hCaptcha Privacy Policy and Terms of Service apply.