

How to Build a DIY Greenhouse on a Budget

A greenhouse is every gardener’s dream—a protected, sun-filled space that lets you grow vegetables, herbs, and flowers long after the frost sets in. The catch? Prefabricated greenhouses can cost thousands of dollars, especially if you go with heavy glass panels or professional construction.
The good news is you don’t need to spend that much. With the right materials—think clear vinyl sheeting, PVC pipe, or salvaged wood—you can build a greenhouse that functions beautifully without breaking the bank. Whether you’re an experienced DIYer or just getting started, this guide will show you how to build a greenhouse on a budget.
Why Build Your Own Greenhouse?
A greenhouse isn’t just about protecting plants; it’s about extending your growing season and creating a more controlled environment. When you build one yourself, you also get:
- Cost Savings – A DIY greenhouse can cost as little as $100–$500, compared to $2,000+ for store-bought kits.
- Customization – Build the exact size you need, from a small herb house to a full-scale vegetable grower.
- Sustainable Options – Repurpose old windows, doors, or pallets instead of buying new.
- Hands-On Satisfaction – There’s pride in seeing your plants thrive in a structure you built yourself.
Choosing the Right Materials
Your material choices will determine both cost and longevity.
Greenhouse Covering Options
- Clear Vinyl Sheeting – Marine-grade vinyl is durable, flexible, and UV resistant. It’s easy to install and can be removed in summer if needed.
- Poly Film (Plastic Sheeting) – The cheapest option, usually in 4–8 mil thickness. Works well short-term but can lack the structural long-term support and likely to degrade faster in sun.
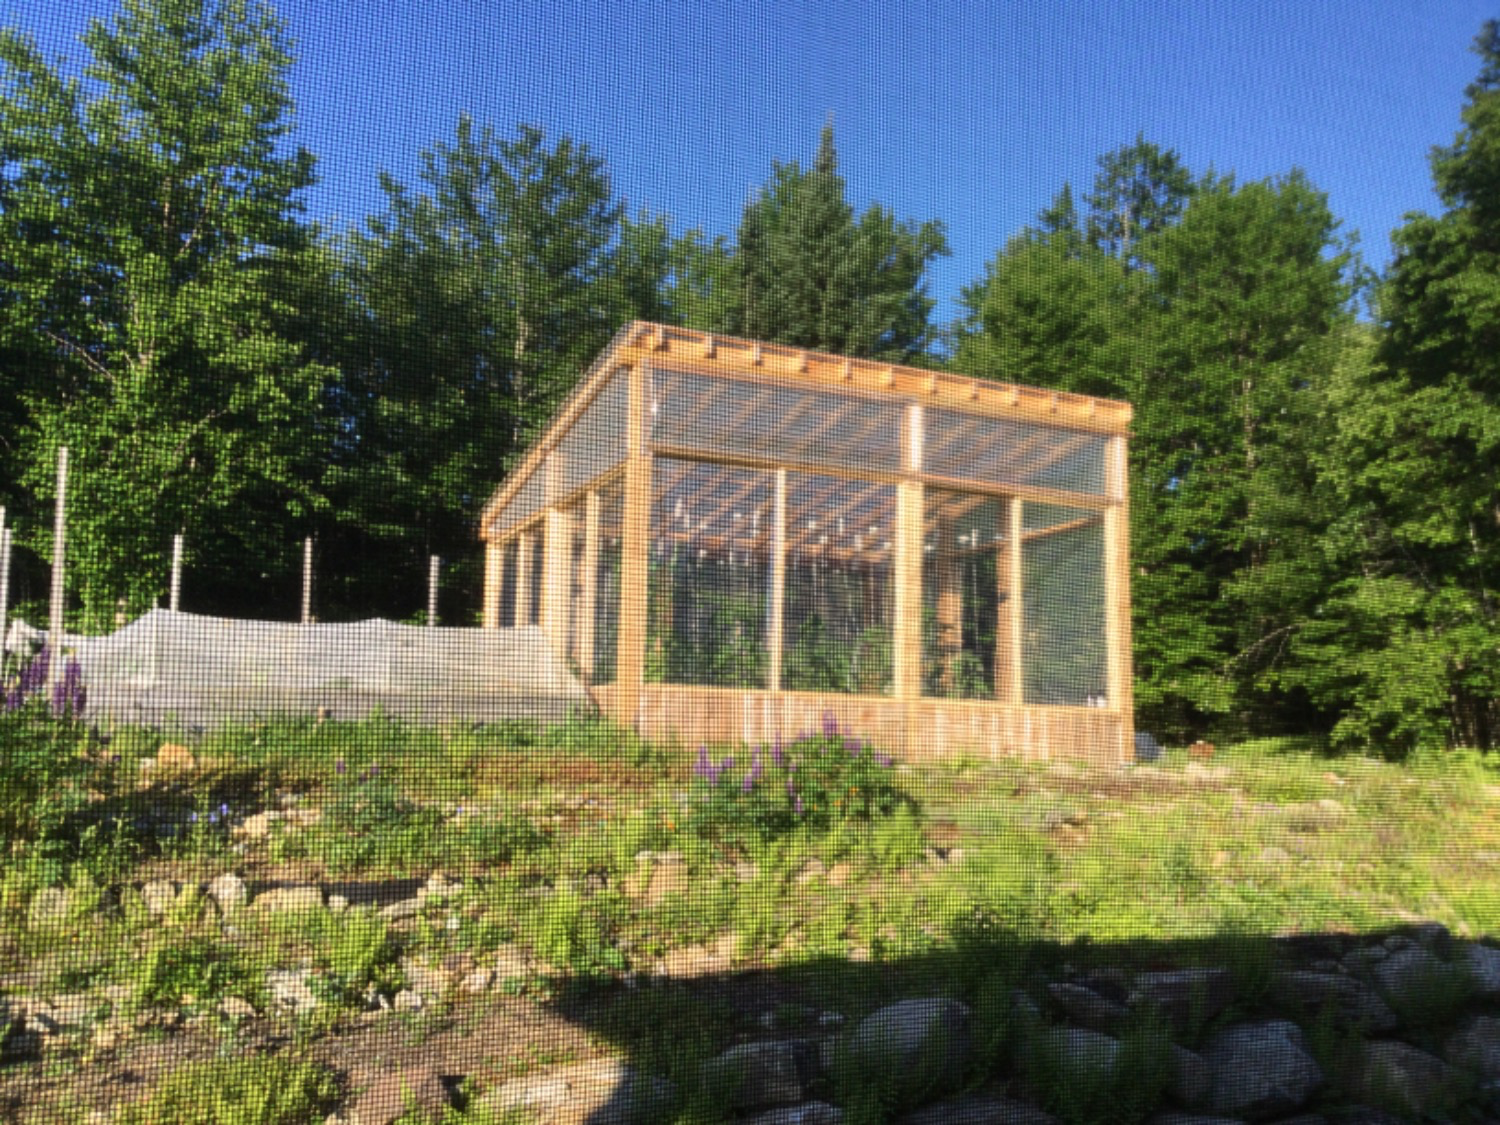
- Polycarbonate Panels – More expensive but last 10+ years. Best for permanent greenhouses.
- Recycled Glass or Windows – Free if you can source salvaged windows. Adds charm but is heavy and fragile.
Frame Options
- PVC Pipe – Lightweight, flexible, and inexpensive. Perfect for hoop houses.
- 2x4 Lumber – Readily available, budget-friendly, and sturdy. Needs to be treated or sealed.
- Metal Conduit (EMT) – Affordable and stronger than PVC, especially for larger structures.

Step-by-Step: Building a Budget DIY Greenhouse
Step 1: Plan and Measure
Decide the size based on what you want to grow. A 6x8 ft greenhouse works well for beginners. Sketch a plan with height, width, and door placement.
Step 2: Build the Base
- Level the ground where your greenhouse will sit.
- Lay down landscape fabric to prevent weeds.
- Use gravel or wood planks for drainage and stability.
Step 3: Construct the Frame
- Insert PVC pipes into the ground (about 2 feet deep) or secure them to wooden baseboards.
- Bend opposite ends to form arches, creating a hoop shape.
- Connect the tops with a long piece of PVC for support.
Step 4: Add Cross Supports
Use smaller PVC pieces or wood strips to reinforce the frame.
This helps hold up the covering during wind or snow.
Step 5: Attach the Covering
Stretch clear vinyl sheeting or poly film tightly over the frame.
Secure edges with clamps, staples, or greenhouse clips.
Leave overlap on the ground and weigh it down with boards or bricks.
Step 6: Create an Entrance
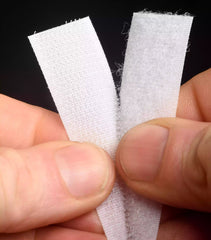
Cut a slit in the vinyl and reinforce it with zippers, Velcro or magnets to make a door.
Alternatively, frame a wooden door at one end for durability.
Step 7: Add Ventilation
Install roll-up sides using additional vinyl and straps.
Add screened vents at the ends to promote airflow and prevent overheating.
Budget-Friendly Tips & Tricks
- Use Salvaged Materials – Old windows, pallets, and storm doors can be repurposed for free.
- Buy Vinyl in Bulk – Rolls of clear vinyl are cheaper than pre-cut greenhouse kits.
- DIY Fasteners – Instead of buying greenhouse clips, cut old hose sections and use them as clamps over PVC.
- Smart Location – Place your greenhouse where it gets maximum sunlight, reducing the need for artificial lighting.
- Seasonal Storage – Roll up vinyl panels in summer to extend their life and prevent sun damage.
Estimated Budget Breakdown
- PVC piping & connectors: $50–$100
- Clear vinyl sheeting: $100–$200 (depending on size and thickness)
- Fasteners, clips, and zippers: $30–$60
- Gravel or base materials: $40–$80
Total: $220–$440 for a functional greenhouse
Compare that to thousands of dollars for commercial kits, and you see why DIY is so appealing.
Maintenance and Care
- Clean the Covering – Use mild soap and water. Avoid harsh chemicals like ammonia or bleach.
- Check for Damage – Patch small tears with vinyl repair tape.
- Snow Management – Brush snow off quickly to prevent collapse.
- Rotate Plants – Ensure even sunlight exposure.
Frequently Asked Questions
How long will a vinyl-covered greenhouse last?
With good care, 3–5 years. Marine-grade vinyl can last longer than standard plastic sheeting.
Do I need a permit?
Most small backyard greenhouses don’t, but always check your local building codes.
Can I grow year-round in a budget greenhouse?
Yes, but you may need supplemental heat in very cold climates. Space heaters or compost heat beds can help.
Is PVC strong enough?
Yes, for small and medium greenhouses. For heavy snow areas, consider metal conduit.
Key Takeaway
Building a DIY greenhouse on a budget is about making smart choices. Clear vinyl gives you durability and sunlight, PVC makes framing affordable, and recycled materials can stretch your dollar even further. With a weekend of work, you can have a greenhouse that keeps your plants thriving—and your budget intact.


Leave a comment
This site is protected by hCaptcha and the hCaptcha Privacy Policy and Terms of Service apply.