

DIY Pontoon Enclosure: Step-by-Step Project Guide

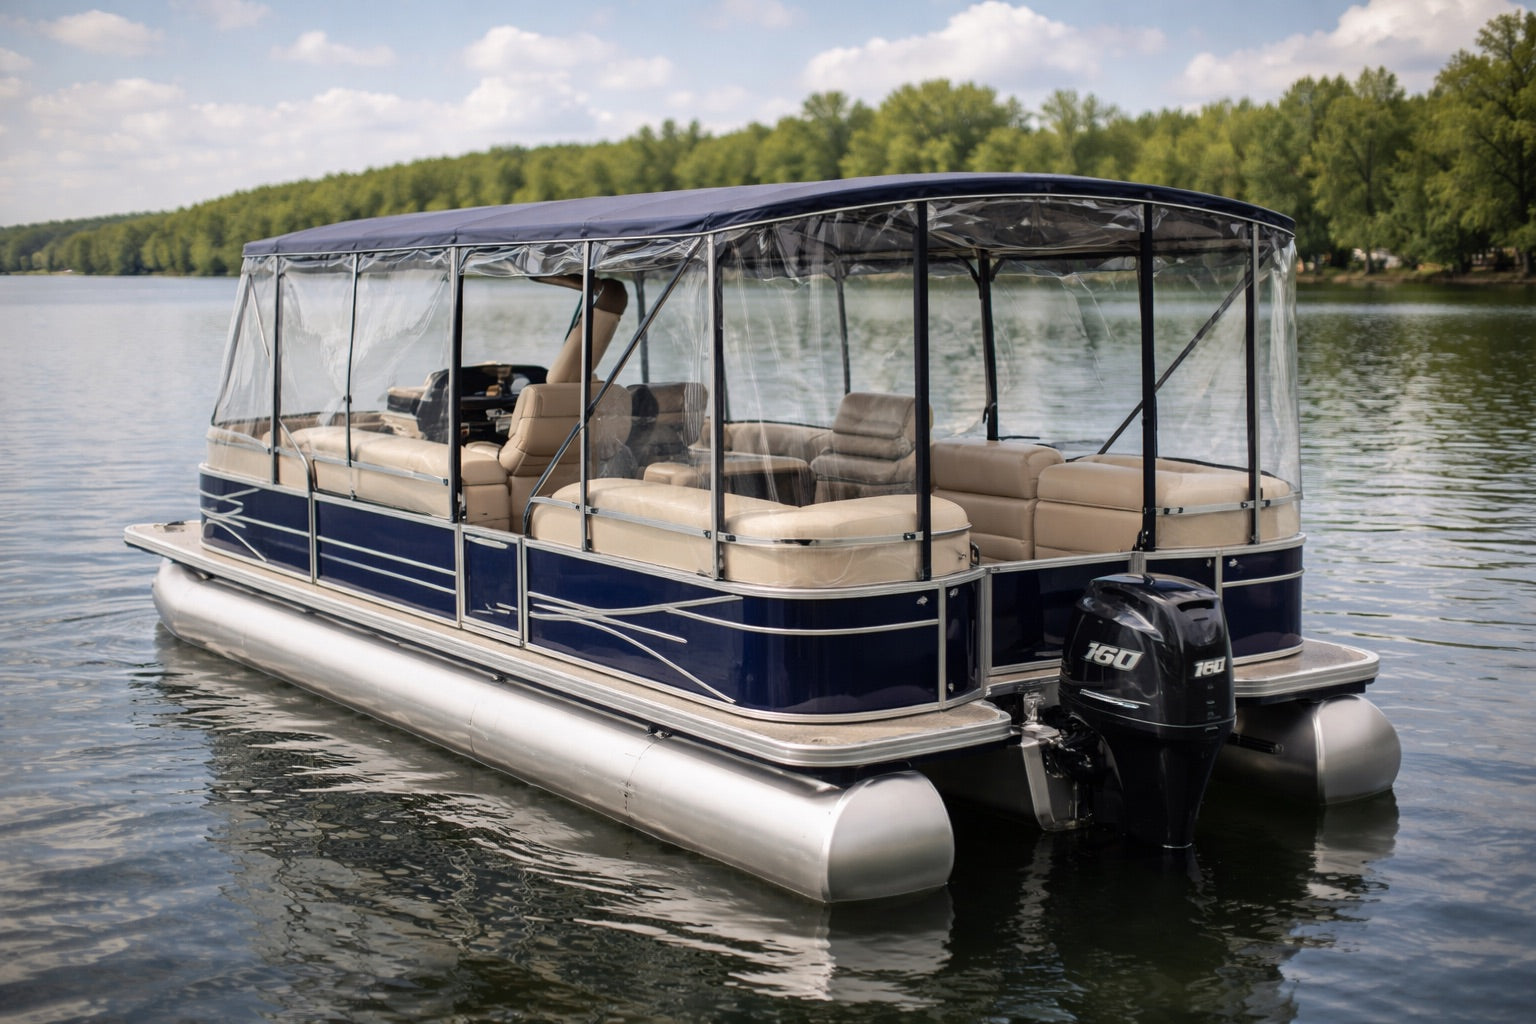
Adding an enclosure to your pontoon boat is one of the most impactful upgrades you can make. Whether you're boating in early spring, late fall, or dealing with unexpected rain and wind, a properly built enclosure transforms your open deck into a protected, comfortable space.
Professional pontoon enclosures can easily cost several thousand dollars. However, with the right materials—especially high-quality clear marine vinyl—and careful planning, this is a project many DIY boat owners can complete successfully. The result? A custom-fit enclosure tailored to your boat, climate, and usage style—at a fraction of the cost.
In this guide, we'll walk through the entire process: planning, measuring, cutting, reinforcing, snap installation, optional features, and long-term maintenance.
Why Add a Pontoon Enclosure?
Before investing time and materials, it’s helpful to understand what you gain from an enclosure. A pontoon is designed for open-air enjoyment, but that same openness leaves passengers exposed to wind, rain, and sun. An enclosure gives you control over your boating environment.
Key Benefits of a Pontoon Enclosure
A well-designed enclosure can provide:
- Extended boating season in cooler months
- Protection from rain and spray
- Reduced wind chill on open water
- UV protection with tinted or coated clear vinyl
- Increased comfort for passengers
- Improved resale appeal
For many boaters, the ability to stay out longer in unpredictable weather makes the enclosure worth the effort alone.
Types of Pontoon Enclosures
Before cutting any material, decide what style of enclosure fits your needs. The design you choose will determine how much vinyl you need, how complex the installation will be, and how often you’ll remove or adjust panels.
Full Enclosure
A full enclosure surrounds the entire pontoon deck from bow to stern. This provides maximum weather protection and is ideal for:
- Boaters in northern climates
- Extended-season use
- Overnight trips
However, it requires more materials and more installation time.
Partial Enclosure
A partial enclosure typically protects only the helm and main seating area. It’s the most common DIY choice because it:
- Requires less material
- Is easier to install
- Still provides meaningful protection
Convertible Enclosure
Convertible designs include removable or roll-up panels. These allow you to:
- Open the boat fully on warm days
- Close panels quickly during sudden rain
- Adjust ventilation as needed
Snap-On vs. Zippered Systems
Attachment style matters for daily usability.
Snap-on systems:
- Provide tight, secure seals
- Offer strong wind resistance
- Require more time to remove
Zippered systems:
- Allow fast entry and ventilation
- Are convenient for frequent access
- May require more reinforcement at stress points
For most DIY boaters, a convertible snap-on partial enclosure strikes the best balance of durability, flexibility, and cost.
Materials and Tools You'll Need
Preparation is everything with marine projects. Before beginning, gather all materials and tools so you don’t have to pause mid-installation.
Materials
The quality of your materials determines how long your enclosure lasts. Clear vinyl designed specifically for marine use is essential.
You will typically need:
- Clear marine vinyl (16–20 gauge recommended)
- Marine-grade canvas (if adding fabric panels or reinforcement)
- Marine zipper (if including door panels)
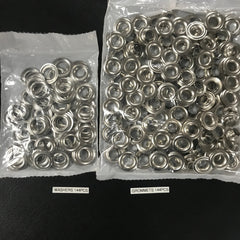
- #10 marine snaps (male and female sets)
- Snap studs or track system
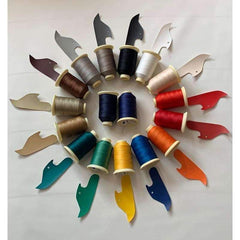
- UV-resistant marine thread (size 138 or heavier)
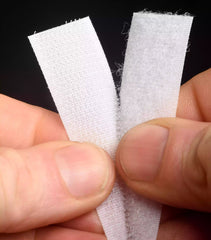
- Velcro straps for roll-up panels
- Optional aluminum or plastic tracking
When choosing clear vinyl:
- 16 gauge is lighter and easier to sew
- 20 gauge offers better clarity retention and durability
- Thicker vinyl resists distortion and creasing over time
Be sure to measure your enclosure area carefully and add approximately 20% extra material to account for hems, overlaps, and mistakes.
Tools
Working with marine vinyl requires durable tools capable of handling thicker materials.
You’ll want:
- Heavy-duty sewing machine
- Snap setting tool or press
- Measuring tape and marking tools
- Sharp scissors or rotary cutter
- Straight edge or T-square
- Drill with marine-grade bits
- Grommet tool
- Seam roller
Expect material costs to fall between $300–$800 depending on enclosure size and vinyl thickness—still significantly less than professional installation.
Step 1: Planning and Measuring
This step determines the entire success of your project. Inaccurate measurements are the most common cause of frustration with DIY enclosures.
Take your time.
Measure Height Carefully
Measure from:
- Bimini top frame to deck
- Bimini top to railings
- Frame support posts at multiple points
Pontoon frames often vary slightly from front to back, so record measurements at several locations.
Measure Width Accurately
Capture:
- Width of each panel section
- Distance between support posts
- Curved rail sections
Divide your enclosure into manageable panels. Three to five panels is common for partial enclosures.
Measure Length
Determine:
- Total enclosed area length
- Drop distance from frame to bottom edge
Create a simple sketch labeling each measurement. Visual documentation prevents confusion later.
Create Full-Size Templates
Before cutting expensive vinyl, mock everything up using kraft paper or inexpensive plastic sheeting.
- Tape templates in place
- Adjust for fit
- Confirm alignment with frame supports
- Clearly label each section
Templates are your safety net. Do not skip this step.
Step 2: Cutting Clear Vinyl Panels
Clear vinyl scratches easily, so work slowly and carefully.
Before cutting:
- Keep protective film on vinyl as long as possible
- Clean your workspace thoroughly
- Lay vinyl flat to relax
Cutting Best Practices
To achieve clean, professional results:
- Use sharp blades only
- Cut on a smooth, clean surface
- Add 1–2 inches seam allowance
- Cut panels slightly oversized
- Label each piece immediately
Clear vinyl can be visually tricky. Good lighting helps prevent alignment errors.
Step 3: Reinforcing and Hemming Edges
Raw vinyl edges are vulnerable to tearing, especially at snap locations and corners.
Reinforcement dramatically increases longevity.
Hemming Process
For each panel:
- Fold a 1-inch hem along edges
- Press flat using a seam roller
- Sew with UV-resistant thread
- Backstitch at seam starts and ends
Keep stitch lines at least ½ inch from edges to prevent pull-through.
Reinforcement Strips
For stress points:
- Cut 2-inch strips of canvas or vinyl
- Position over hem areas where snaps will sit
- Sew securely through both layers
This prevents snaps from ripping out under tension.
Step 4: Installing Snap Fasteners
Snaps are the backbone of a secure enclosure. Proper spacing ensures tight closure and weather resistance.
Planning Snap Placement
Good snap layout prevents sagging and gaps.
As a general rule:
- Space snaps 6–8 inches apart
- Avoid placing snaps too close to corners
- Keep lines straight and evenly spaced
Mark all snap positions before punching holes.
Installing Snaps on Panels
- Mark hole location
- Punch clean hole
- Insert backing plate
- Set female snap cap
- Compress securely
Test each snap before moving on.
Installing Studs on the Frame
Hold panels in place and transfer snap positions directly to the frame.
Then:
- Pre-drill pilot holes
- Apply marine sealant to each hole
- Install stainless steel snap studs
- Test panel alignment
Proper sealing prevents water intrusion and long-term structural damage.
Step 5: Adding Doors or Ventilation Panels
Functionality matters just as much as weather protection.
Zippered Door Panel
For entry access:
- Cut opening in selected panel
- Install marine zipper
- Reinforce corners
- Stitch multiple passes for strength
Zippers should move smoothly and be reinforced against strain.
Roll-Up Windows
For airflow:
- Create horizontal sections
- Snap top edge only
- Add Velcro straps to secure rolled panels
This adds flexibility for warm-weather boating.
Step 6: Optional Support Tracking
Large vinyl panels can sag over time.
Installing support tracking:
- Reduces stress on snaps
- Improves wind resistance
- Creates a professional appearance
Sew a vinyl channel and slide into aluminum track for added structure.
Step 7: Final Installation and Adjustment
Install panels from top to bottom. Work slowly and verify alignment before snapping fully into place.
During final setup:
- Check for gaps
- Test zippers
- Confirm panels do not interfere with controls
- Add weather stripping if necessary
Do a full operational test before taking the boat out.
Maintenance and Care
Clear marine vinyl lasts significantly longer when properly maintained.
Routine Cleaning
- Mild soap and water
- Soft cloth only
- Avoid ammonia-based cleaners
- Dry thoroughly before storage
Seasonal Storage
- Remove enclosure during winter
- Store flat or loosely rolled
- Keep in dry, climate-controlled space
Regular Inspection
- Check seams for stress
- Replace worn snaps
- Reapply sealant to screws as needed
- Repair small tears immediately
With proper care, marine vinyl enclosures can last 5–10 years or more.
Common Mistakes to Avoid
Even experienced DIYers can run into problems. Avoid these frequent errors:
- Inaccurate measurements
- Using vinyl that’s too thin
- Insufficient reinforcement
- Poor snap spacing
- Skipping template testing
- Neglecting fastener sealing
- Forgetting access and ventilation planning
Precision and patience are your biggest assets.
Cost Comparison
DIY Enclosure
- Materials: $300–$800
- Tools (if needed): $100–$300
- Time: 2–3 full days
- Total: $400–$1,100
Professional Installation
- $2,000–$5,000 average
DIY savings can range from $1,000 to $4,000 depending on size and materials.
Final Thoughts
Building your own pontoon enclosure requires careful planning, precise measuring, and quality marine materials—but the reward is substantial. A properly installed enclosure extends your season, protects passengers, and enhances the overall boating experience.
The key to success lies in:
- Accurate measurements
- Durable clear marine vinyl
- Proper reinforcement
- Secure snap installation
- Ongoing maintenance
Take your time with each step, use quality materials, and your DIY pontoon enclosure can rival professional installations in both appearance and durability.
Ready to start your project? Explore our selection of clear marine vinyl, UV-resistant thread, and enclosure accessories to build a custom-fit pontoon enclosure that lasts for years.


Leave a comment
This site is protected by hCaptcha and the hCaptcha Privacy Policy and Terms of Service apply.