

Article: Preparing Your Boat for Summer: The Complete Upholstery Maintenance Guide
Preparing Your Boat for Summer: The Complete Upholstery Maintenance Guide

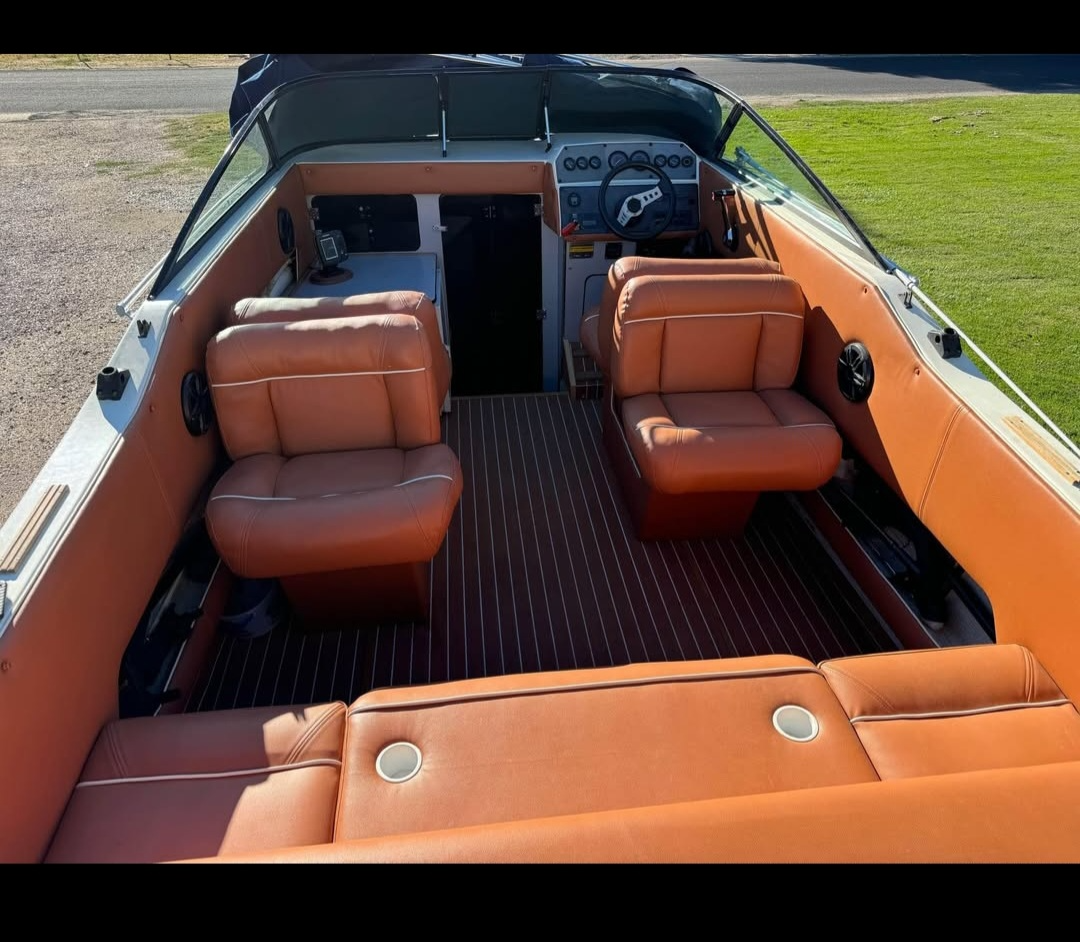
Spring is here, and boating season is right around the corner. Before your boat touches the water, however, your upholstery deserves careful attention. Months of storage can take a quiet toll on marine vinyl, foam, canvas, and hardware — even if everything looked fine when you covered it last fall.
Neglecting spring maintenance can lead to premature cracking, hidden mildew growth, foam breakdown, and expensive mid-season repairs. The good news? A structured pre-season inspection and maintenance routine can dramatically extend the life of your upholstery and improve comfort all summer long.
Industry data shows that consistent seasonal maintenance can extend marine upholstery life by 3–5 years. That’s a significant return on just a few hours of preparation.
This guide walks you through inspection, cleaning, repair, protection, and prevention — so you can launch confidently and avoid surprises on the water.
Why Spring Upholstery Maintenance Is So Important
Marine upholstery lives in one of the harshest environments imaginable:
- UV radiation
- Humidity and moisture
- Salt exposure
- Temperature swings
- Sunscreen and body oils
- Mildew-prone storage conditions
Even during winter storage, condensation and limited airflow can create ideal conditions for mold growth and vinyl degradation.
Many boat owners only discover damage after launching — when cushions feel flat, seams split under pressure, or mildew odors return immediately. Spring inspection gives you the opportunity to catch minor problems before they become structural issues.
Think of this as preventative maintenance for your comfort and your investment.
Phase 1: Comprehensive Inspection (1–2 Hours)
Before cleaning anything, conduct a systematic inspection. This helps you prioritize repairs and avoid cleaning over damage that needs fixing first.
Inspecting Seat Cushions and Marine Vinyl
Remove all cushions from the boat so you can inspect every surface — including the underside.
Look for:
- Cracks or spider-web splitting in vinyl
- Punctures or small tears
- Fading and chalkiness from UV exposure
- Sticky or stiff areas (signs of plasticizer loss)
- Black spotting or musty smell indicating mildew
- Seam separation or brittle stitching
Flex the vinyl gently. Healthy marine vinyl should remain supple. If it feels stiff or brittle, it may be approaching the end of its lifespan.
Pay close attention to high-stress areas like corners, hinges, and seat edges.
Inspecting Canvas and Bimini Tops
Canvas is often overlooked until it leaks.
Unfold and stretch out all canvas components fully. Examine:
- Stitching integrity along seams
- Stress points around snaps and zippers
- Fraying edges
- Clear vinyl window panels for yellowing or cracking
- Waterproof coating wear (water should bead, not soak in)
Check hardware mounting points as well. Rust staining around stainless hardware may indicate underlying corrosion.
Foam and Internal Structure Check
Foam degradation is subtle but critical.
Perform a compression test:
- Press firmly and release.
- Good foam rebounds within 2–3 seconds.
- Slow recovery indicates breakdown.
- Permanent compression means replacement is needed.
Unzip covers if possible and check for:
- Yellowing or crumbling foam
- Dampness
- Mold penetration
- Odor
Moisture trapped inside foam accelerates deterioration dramatically.
Hardware and Fastener Review
Small hardware issues can ruin a day on the water.
Test:
- Snaps for firm “click” engagement
- Zippers for smooth full travel
- Velcro grip strength
- Reclining or adjustable mechanisms
- Mounting screws and hinges
Replace weak components now before they fail mid-season.
Phase 2: Deep Cleaning and Restoration (2–4 Hours)
Once inspection is complete, move into cleaning. Proper cleaning not only improves appearance — it also restores material longevity.
Cleaning Marine Vinyl Properly
Start by vacuuming debris from seams and crevices.
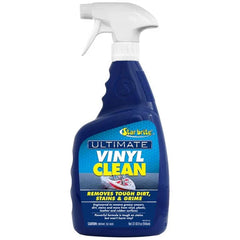
Use a mild soap solution (1 tablespoon dish soap per gallon of warm water) and a soft brush. Avoid harsh household cleaners, which can strip protective coatings. We offer cleaning products to use, as well.
For stubborn grime:
- Use a dedicated marine vinyl cleaner
- Let it dwell for 10–15 minutes
- Scrub gently with a soft bristle brush
Mildew Treatment
For light mildew:
- 50/50 white vinegar and water
For heavy growth:
- Marine-grade mildew remover
Always rinse thoroughly and dry completely. Moisture left behind restarts the mildew cycle.
Cleaning Canvas and Clear Vinyl Windows
Brush off loose debris first.
Wash canvas using marine-specific cleaner. Avoid pressure washers — they damage waterproof coatings.
For clear vinyl windows:
- Use clear vinyl cleaner only
- Never use ammonia-based glass cleaners
- Avoid paper towels (they scratch)
Air dry completely before folding or reinstalling.
Phase 3: Repairing Minor Damage
Addressing small issues early can prevent full panel replacement later.
Small Tears and Punctures
Marine vinyl repair kits can handle small damage effectively.
Steps:
- Clean area with alcohol
- Apply patch or filler
- Allow full cure time (usually 24 hours)
This is an inexpensive repair compared to panel replacement.
Re-Stitching Loose Seams
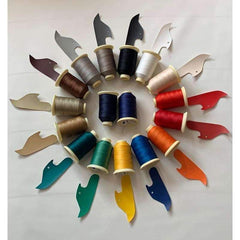
UV exposure degrades thread before vinyl fails.
Use UV-resistant marine thread and reinforce stress points. If multiple seams are failing, professional re-stitching may be more cost-effective long term.
Replacing Snaps and Hardware
Broken snaps are easy DIY repairs. Replace with marine-grade stainless components and seal around the base to prevent leaks.
Phase 4: Foam Replacement Considerations
Foam typically lasts 7–10 years depending on usage.
Replace foam if you notice:
- Permanent compression
- Visible breakdown
- Mildew penetration
- Persistent odor
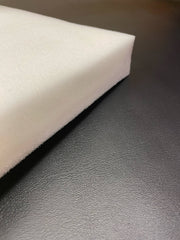
For marine applications:[c]
- Density: 2.5–3 lb (standard use)
- 3.5+ lb for heavy-use seating
Replacing foam while reusing existing vinyl (if in good condition) is a cost-effective comfort upgrade.
Phase 5: Protection and Preventative Treatments
This is where you extend lifespan.
UV Protection Is Non-Negotiable
UV exposure is the leading cause of vinyl cracking.
After cleaning:
- Apply marine vinyl protectant with UV inhibitors
- Reapply every 4–6 weeks[d]
- Use seat covers when boat is docked
This simple step dramatically slows aging.
Waterproofing Canvas
Canvas loses water resistance over time.
Reapply waterproofing annually:
- Apply thin coats
- Allow 24–48 hours curing
- Ensure fabric is fully dry before treatment
Water should bead and roll off when complete.
Mildew Prevention Strategy
Humidity control is essential.
- Improve airflow under covers
- Use moisture absorbers
- Avoid storing cushions while damp
- Consider solar vents for enclosed boats
Prevention is far easier than remediation.
Phase 6: Reinstallation and Final Prep
Before reinstalling:
- Ensure interior is dry
- Confirm repairs are cured
- Reattach cushions securely
- Test all adjustability
- Confirm canvas alignment
Take photos for documentation and record products used. Setting a mid-season reminder ensures maintenance doesn’t lapse.
Repair vs Replace: Making the Right Call
Repair makes sense when:
- Damage is localized
- Vinyl remains flexible
- Foam is intact
Replacement makes sense when:
- Vinyl is brittle
- Foam is failing
- Multiple repairs are needed
- Upholstery exceeds 10 years old
If repair costs approach 50% of replacement, full replacement is often smarter long-term.
Seasonal Maintenance Plan
Monthly:
- Wipe down vinyl
- Remove sunscreen residue
- Reapply UV protectant
- Inspect for new wear
Mid-Season:
- Deep clean
- Re-treat canvas
- Tighten hardware
End of Season:
- Thorough cleaning
- Apply heavy protectant
- Store dry
- Use breathable cover
Cost Overview
DIY Spring Prep: $120–$260
Professional Service: $300–$2,800+
The savings from DIY work can be substantial, especially for minor maintenance and prevention.
Final Thoughts
Preparing your boat’s upholstery for summer isn’t just about appearance — it’s about performance, comfort, safety, and protecting your investment.
A structured spring routine ensures:
- Longer material lifespan
- Reduced mildew issues
- Fewer emergency repairs
- Greater comfort all season
The few hours you spend now will pay off with a smoother, cleaner, more enjoyable boating season.


Leave a comment
This site is protected by hCaptcha and the hCaptcha Privacy Policy and Terms of Service apply.