

Custom Golf Cart Seat Covers: The Complete DIY Guide (Using Marine Vinyl)

Golf carts have evolved far beyond the golf course—they’re now used for neighborhoods, resorts, campgrounds, farms, marinas, and large private properties. As usage increases, so does wear and tear—especially on seats. Sun exposure, moisture, and constant use can quickly cause factory upholstery to fade, crack, or flatten.
If you're looking to refresh your golf cart’s appearance, improve comfort, or simply customize the look, creating your own seat covers using marine vinyl is one of the most practical upgrades you can make. Not only does it protect your investment, but it also allows complete control over durability, color, and fit.
This guide walks you step-by-step through the process—from measuring and pattern making to sewing, installation, and long-term maintenance—so you can create professional-quality results.
Why Marine Vinyl Is the Best Choice for Golf Cart Seats
Before choosing materials, it’s important to understand what your seats are exposed to. Unlike indoor furniture, golf cart seating faces constant environmental stress. Even carts stored in garages are frequently exposed to humidity, temperature swings, and sunlight during use.
That’s why marine-grade vinyl is strongly recommended over standard upholstery vinyl.
Marine vinyl is engineered specifically for outdoor conditions. It includes protective coatings and mildew-resistant backings that standard vinyl simply does not have. Choosing the right material at the beginning of your project will determine how long your new seat covers last—and how well they perform.
Key Advantages of Marine-Grade Vinyl
When selecting materials, look for vinyl that offers:
- UV resistance to reduce fading and cracking
- Mildew resistance for humid environments
- Waterproof surface for easy cleaning
- Durable knit or polyester backing
- Cold crack resistance for seasonal climates
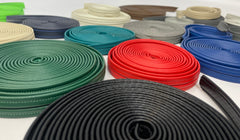
For a deeper comparison of weights and finishes, browse our full selection of Marine Vinyl Fabric.
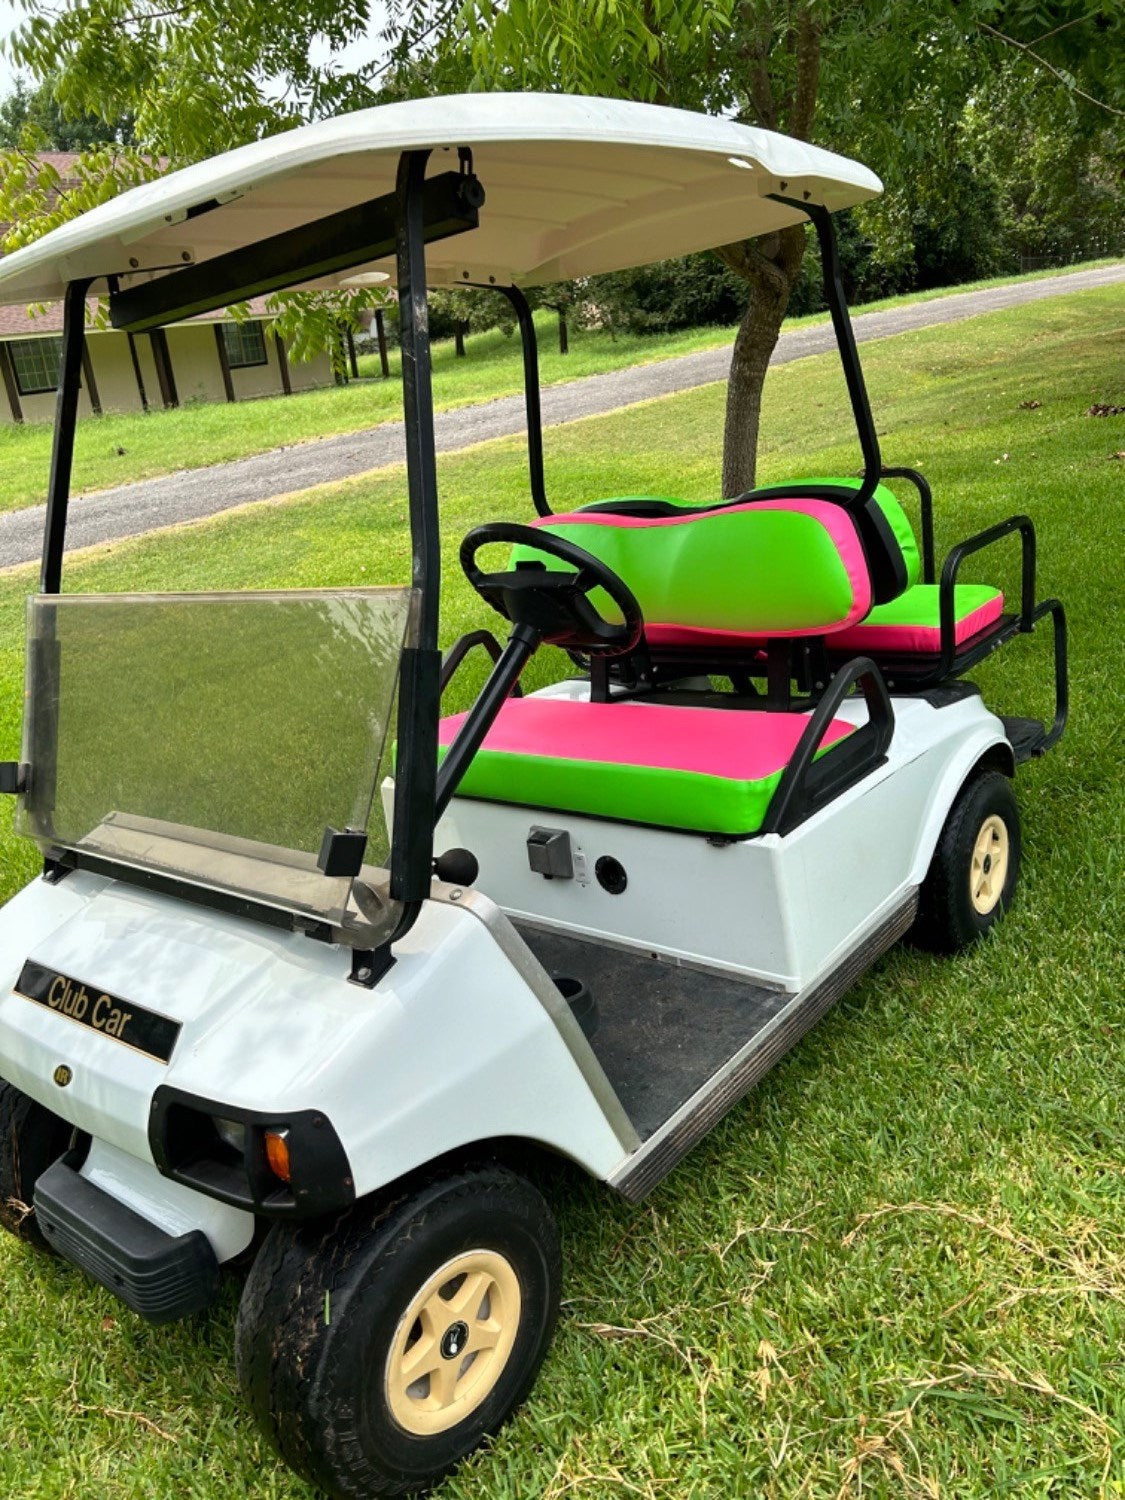
Types of Golf Cart Seats
Before you begin measuring or cutting material, take a moment to identify what type of seat configuration you’re working with. Not all golf cart seats are shaped the same, and understanding your layout will influence your pattern design.
Some seats are flat and simple. Others include contours, bolsters, or fold-down mechanisms that require more detailed planning. Starting with a clear understanding of your seat style will help you avoid material waste and unnecessary rework.
1. Bench Seats (Most Common)
Bench seats are typically found on standard two-passenger carts and are the easiest style for DIY upholstery projects. They usually consist of:
- A single bottom cushion
- A single seat back
- Straight edges with minimal contouring
Because of their simple rectangular shape, they are ideal for first-time projects.
2. Bucket Seats
Bucket-style seats are more common on premium or modified carts. These seats often feature:
- Individual molded shapes
- Side bolsters
- Sculpted foam contours
They require more precise pattern making but offer a high-end custom look when finished properly.
3. Flip-Down Rear Seats
Four-passenger carts often include a rear-facing or convertible seat. These setups may include:
- Separate seat bottom and back panels
- Hinged mechanisms
- Removable cargo configurations
Take extra care to measure folding clearance and hinge spacing.
Materials & Tools Checklist
Preparation makes the difference between a smooth project and a frustrating one. Before you begin, gather all materials and tools. Having everything ready prevents mid-project delays and ensures consistency in your stitching and installation.
Materials
For a standard 2-passenger bench seat, you’ll typically need:
- 2–3 yards of 54" wide marine vinyl
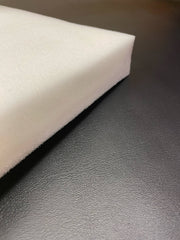
- Foam padding (if replacing)
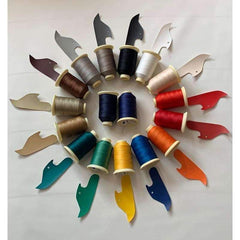
- UV-resistant marine thread
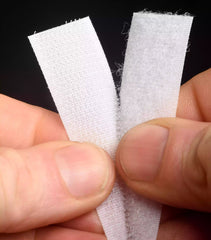
- Elastic, hook & loop, or straps for securing
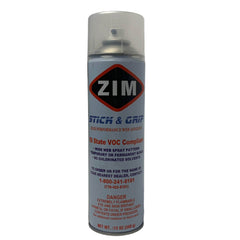
- Spray adhesive (if replacing foam)
- Staples or hog rings (optional for permanent installs)
When selecting vinyl, consider thickness and intended usage:
- 18 oz marine vinyl: Minimum for durability
- 28–32 oz vinyl: Thicker, more luxurious feel
- Foam-backed vinyl: Adds comfort and reduces sewing steps
Tools
Marine vinyl is thicker than standard fabric, so your tools need to match the material. You’ll want:
- Standard to medium-duty sewing machine
- Walking foot attachment (highly recommended)
- Size 18–20 leather needles
- Sharp scissors or rotary cutter
- Measuring tape
- Upholstery clips (never pins)
- Staple gun or hog ring pliers
Expect material costs between $75–$125 for most projects.
Step 1: Remove & Measure Your Seats
Accurate measurements are the foundation of a professional-looking result. Removing the seats allows you to measure thickness and contours correctly, which is difficult to do while they’re still mounted.
Before removing hardware, take photos for reference. Label bolts and components so reinstallation is straightforward.
Measure the Seat Bottom
Focus on:
- Total width
- Total depth
- Thickness at front and back
- Curvature or slope
Measure the Seat Back
Capture:
- Width at top and bottom
- Overall height
- Thickness
- Angle of recline
Create a simple sketch with all measurements clearly labeled. This visual reference prevents mistakes later when transferring to pattern paper.
Step 2: Create a Pattern
Pattern making is where most DIY upholstery projects either succeed or fail. Taking your time here saves money and frustration.
The goal is to create a template that accounts for both the top surface and the depth wrapping underneath the seat.
Option A: Paper Template Method
This beginner-friendly method allows easy adjustments:
- Cover seat with kraft paper.
- Trace edges and curves.
- Add 2 inches for seam allowance and wrap.
- Cut and test fit.
- Adjust until snug but not tight.
Option B: Duct Tape Method
For contoured seats:
- Cover seat in plastic wrap.
- Apply overlapping duct tape.
- Draw seam lines.
- Cut along lines and flatten.
- Transfer to paper pattern.
Always test your pattern before cutting vinyl.
Step 3: Cut Marine Vinyl Carefully
Before cutting, allow vinyl to lay flat for 24 hours if it has been rolled. This prevents distortion.
Prepare your workspace to avoid scratches or debris transferring onto the vinyl surface.
Cutting Tips
- Use very sharp scissors or rotary cutter.
- Cut vinyl face-down if possible.
- Double-check measurements before cutting.
- Label pieces immediately after cutting.
Taking a few extra minutes to confirm placement prevents costly material waste.
Step 4: Sewing Marine Vinyl
Marine vinyl behaves differently than cotton or canvas. It does not stretch like fabric, and needle holes are permanent. Adjust your machine before starting.
Machine Setup
- Leather needle (size 18–20)
- UV-resistant polyester thread
- Longer stitch length
- Reduced presser foot pressure
If you're new to sewing vinyl, see our full guide on How to Sew Marine Vinyl.
Best Practices While Sewing
- Use clips instead of pins
- Sew slowly and steadily
- Backstitch at start and finish
- Maintain even tension
Boxing Corners
To create depth:
- Pinch corner into triangle.
- Sew across base.
- Trim excess material.
This creates a fitted 3D shape instead of a loose drape.
Step 5: Securing the Cover
Once sewn, your cover needs a secure attachment method. The right choice depends on how often you plan to remove the covers.
Elastic Hem
Ideal for removable covers:
- Fold and sew a channel.
- Insert elastic slightly shorter than perimeter.
- Secure ends.
Hook & Loop
Provides a semi-permanent hold:
- Sew loop side to cover.
- Attach hook side to seat base.
Straps & Buckles
Best for heavy-duty or windy areas:
- Sew straps underneath.
- Tighten securely under seat.
Staple or Hog Ring
For permanent installations:
- Pull cover tight.
- Secure every 2–3 inches.
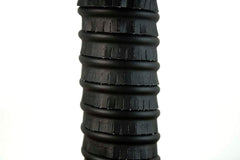
- Cover staples with Hidem Gimp Trim.
Step 6: Foam Replacement
If your seats feel flat or uncomfortable, replacing foam dramatically improves the result.
Foam Installation Steps
- Remove old foam.
- Clean base thoroughly.
- Cut new foam precisely.
- Spray adhesive both surfaces.
- Press and smooth.
- Allow proper curing time.
Higher-density foam provides better long-term support.
Maintenance Tips
Proper care extends seat life significantly.
Routine Cleaning
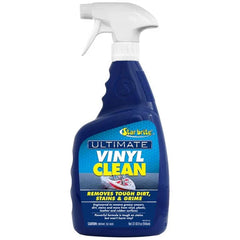
- Mild soap and water weekly
- Immediate stain removal
Ongoing Protection
- Apply UV protectant monthly
- Store covered when possible
- Inspect seams seasonally[b]
For detailed cleaning instructions, see How to Clean and Protect Marine Vinyl.
Customization Ideas
Custom covers allow creative flexibility. Consider:
- Two-tone panel layouts
- Contrasting piping
- Diamond stitching
- Camouflage or themed colors
- Embroidered logos
Add trim using:
Final Thoughts
Upgrading your golf cart seats with custom marine vinyl covers is one of the most impactful DIY improvements you can make. With proper measurements, quality materials, and careful sewing, your seats can look better than factory originals—and last for years in outdoor conditions.
If you’re unsure which vinyl weight, color, or thickness works best for your climate or usage, our team is happy to help guide you toward the right material for your project.


Leave a comment
This site is protected by hCaptcha and the hCaptcha Privacy Policy and Terms of Service apply.