

How to Weatherproof Your Porch Before Winter Hits

When temperatures begin to drop, many homeowners abandon their porches until spring returns. Cold drafts, moisture, and snow make outdoor spaces uncomfortable in winter—but with a few smart upgrades, your porch can stay warm, dry, and functional all season long. The good news? Weatherproofing doesn't require a full remodel or expensive construction. A handful of simple DIY projects can make a dramatic difference in comfort and durability.
Whether you want to turn your porch into a cozy winter hangout or simply protect your furniture and flooring from harsh weather, this guide walks you through the most effective steps to prepare your space before winter hits.
Why Weatherproof?
Before diving into the how-to, it's helpful to understand why weatherproofing matters—not just for comfort, but for long-term home health.
Stay Warm
Drafts can pull warm air away from your house and make your porch feel like a wind tunnel. Weatherproofing stops these leaks and keeps the area noticeably warmer, especially when paired with clear vinyl enclosures or temporary heating.
Prevent Damage
Snow, rain, and freezing temperatures can take a toll on flooring, screens, and furniture over time. Sealing and protecting these materials helps extend their lifespan, saving you money on repairs or replacements later.
Lower Energy Bills
Blocking drafts around porch doors or adjoining rooms helps retain heat inside your home. Even small improvements—like sealing cracks or adding insulation—can reduce heating costs during the winter months.
Extend Usability
With the right upgrades, your porch can become a bonus living space even in winter. Whether you want a quiet reading spot, a family hangout, or a covered area for pets, weatherproofing turns a seasonal porch into a year-round destination.
Step 1: Seal Drafts and Cracks
Air leaks are one of the biggest sources of heat loss on porches. Sealing them is a quick, low-cost project that has an immediate impact.
Inspect the Structure
Start by checking:
- Around window and screen frames
- Along the floor and baseboards
- Corners where wind often sneaks in
- Door frames and thresholds
Use a flashlight during a windy day—if you see movement, dust trails, or feel cool air, you've found a leak.
Choose the Right Sealant
Depending on the size of the gap, use:
- Caulk for small cracks around trim and seams
- Weatherstripping for door frames and operable windows
- Expandable foam spray for large gaps and voids
Tip: Silicone-based caulks are more flexible and handle temperature swings better than acrylic options.
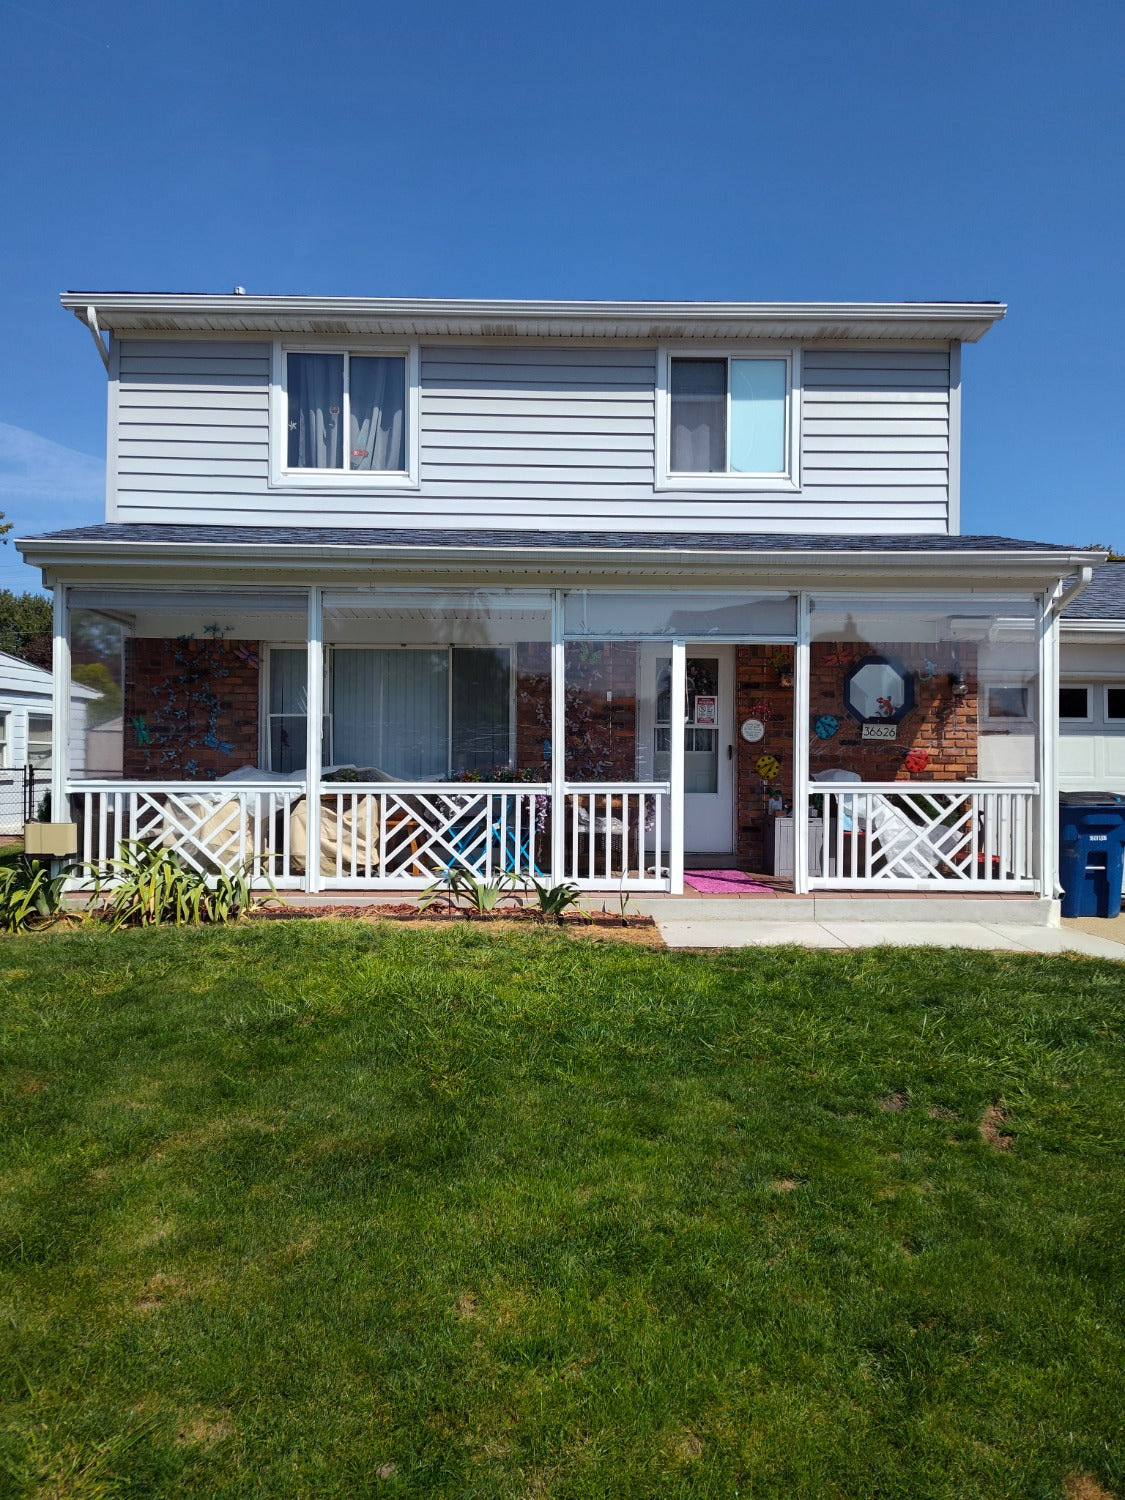
Step 2: Add Clear Vinyl Enclosures
For screened porches, clear vinyl panels are the single most effective way to block wind, rain, and snow while still keeping outdoor visibility.
Why Clear Vinyl Works
- Creates a windproof barrier
- Keeps heat from escaping
- Protects indoor/outdoor furniture from moisture
- Stays flexible in cold temperatures (marine-grade vinyl is ideal)
When installed over your existing screens, vinyl instantly transforms your porch into a more insulated, enclosed space. Learn more in our ultimate guide to enclosing your porch with clear vinyl.
Choosing the Right Vinyl
Gauge matters:- 20-gauge → Flexible, lightweight, easy to install
- 30-gauge → More insulation and durability
Look for marine-grade vinyl with UV protection to prevent yellowing or cracking. Not sure which gauge you need? Check out our guide on choosing the right vinyl gauge for porch windows.
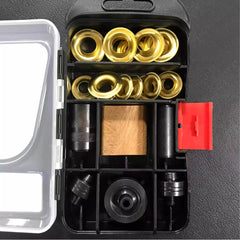
Installation Tips
- Mount vinyl using snaps, grommets, or a track system
- Add roll-up straps if you want ventilation on warmer days
- Reinforce edges with binding tape for a clean, professional finish
Need help getting started? Our clear vinyl installation kit includes all the hardware you need, or check out our DIY clear vinyl panels guide for step-by-step instructions.
This upgrade alone can make your porch usable on all but the coldest days.
Step 3: Insulate the Floor
Heat rises—but cold also creeps up from below. Insulating the floor helps keep your porch significantly warmer and more comfortable underfoot.
Add Rugs or Carpet Tiles
Outdoor rugs not only improve insulation but add a cozy, finished look. Choose polypropylene or marine-grade materials that resist moisture and mildew.
Use Foam Underlayments
For added warmth, install:
- Foam padding
- Interlocking rubber tiles
- Carpet underlayments designed for outdoor use
These act as a thermal barrier and soften the flooring for winter use.
Protect Wood Decking
If your porch has wood planks:
- Seal gaps between boards
- Apply a water-resistant sealant
- Check for loose boards where cold air can enter
Keeping moisture out reduces the risk of rot during winter freeze-thaw cycles.
Step 4: Install Temporary Heating Options
Once you've sealed and insulated the porch, a small amount of heat can make it fully comfortable—even on chilly nights.
Space Heaters
Both propane and electric heaters work well, depending on your porch setup. Choose one with:
- Tip-over protection
- Weather-resistant housing
- Adjustable heat settings
Place heaters in open, well-ventilated areas and keep them away from vinyl, curtains, or cushions.
Radiant Floor Mats
If you plan to use your porch daily, radiant floor heating mats are a great upgrade. They distribute gentle, consistent warmth and work well under rugs.
Electric Infrared Heaters
Infrared heaters warm objects (including you) rather than the air, making them efficient for drafty areas.
Always follow the manufacturer's safety guidelines and plug heaters into appropriate outlets.
Step 5: Upgrade Curtains & Shades
Fabric barriers are great for blocking wind and adding insulation without major construction.
Outdoor Curtains
- Wind-resistant
- Mold and mildew resistant
- Stylish and functional
They help trap heat inside and add privacy during the winter months.
Thermal Shades
If your porch has windows or panels, thermal or insulated shades add another layer of protection. They help hold in warmth and reduce heat transfer through glass.
Double-Layer Setups
A combination—vinyl panels + outdoor curtains—creates a powerful wind and temperature barrier while still giving you control over airflow and aesthetics.
Quick Tips for Winter Porch Maintenance
Even after you've weatherproofed, a few simple habits will keep your porch safe and functional all season long:
- Check snow load on porch roofing, especially after heavy storms
- Clean gutters so melting snow drains properly and doesn't pool near posts
- Use weatherproof covers on furniture you won't use
- Keep pathways clear to prevent slips and wood damage
- Inspect seals every few weeks for any lifting or wear
Want to keep your vinyl looking crystal clear all winter? Learn how to clean vinyl windows and how to clean clear vinyl to maintain visibility throughout the season.
Key Takeaway
Weatherproofing your porch is less about major renovations and more about thoughtful upgrades that seal, insulate, and protect. By tackling a few DIY projects—like adding clear vinyl enclosures, sealing drafts, insulating the floor, and improving heat retention—you can extend your porch's usability well into winter. A weekend's worth of work can turn your porch into a warm, inviting cold-weather retreat that you'll enjoy long after summer ends.
Ready to get started? Order free clear vinyl samples to find the perfect material for your porch project, or browse our full selection of clear vinyl rolls in various gauges and sizes.


Leave a comment
This site is protected by hCaptcha and the hCaptcha Privacy Policy and Terms of Service apply.